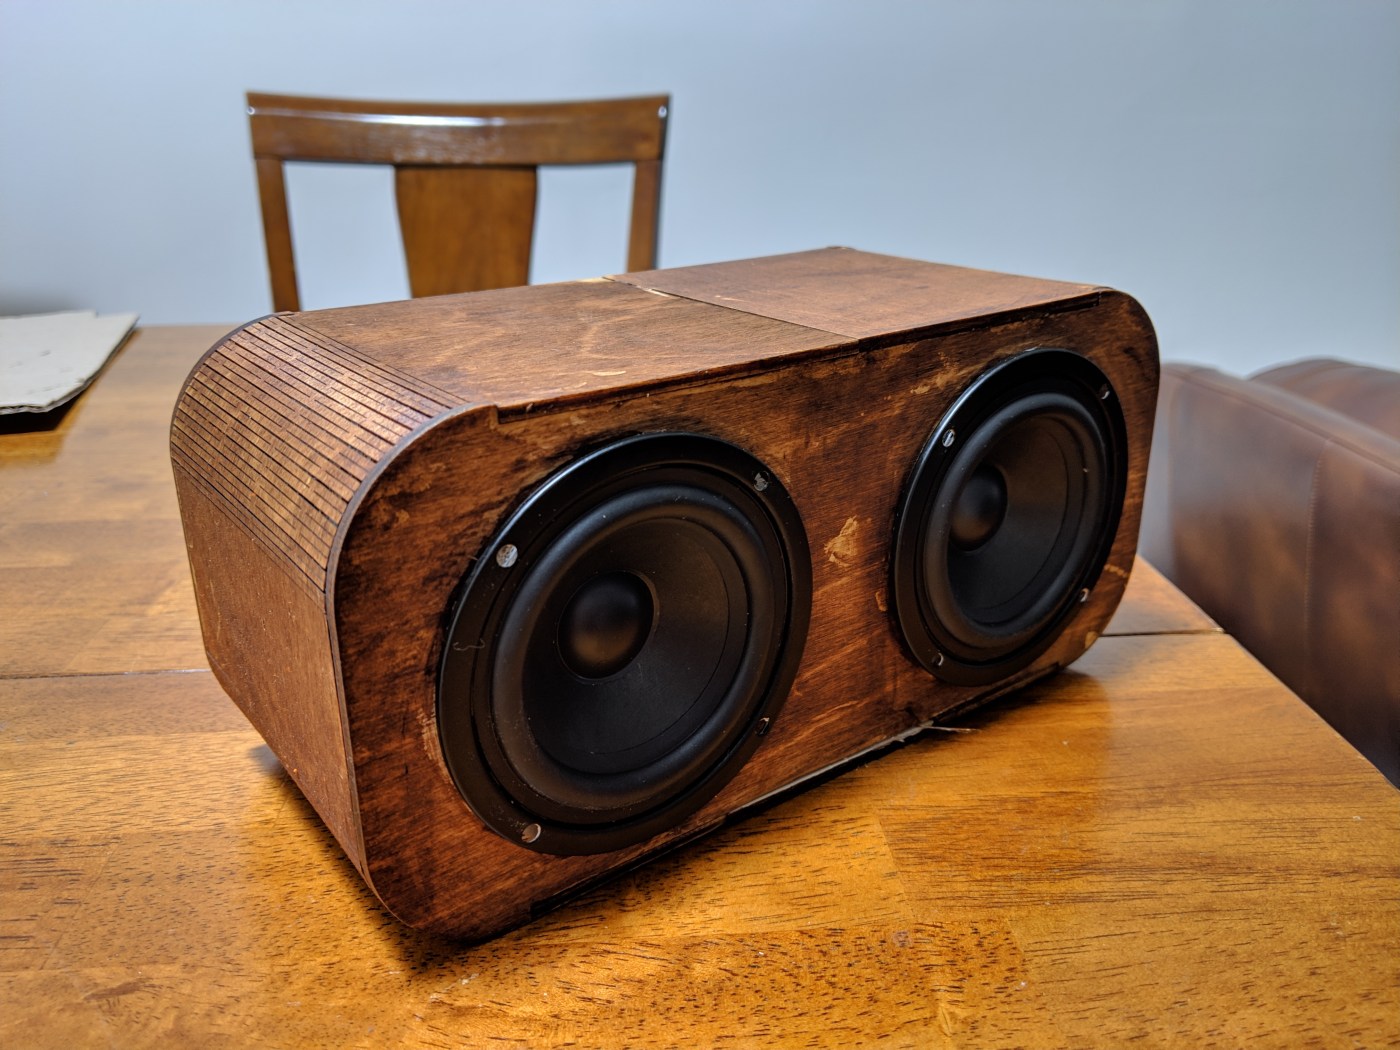
So the holiday season is upon us and I have decided to build all my gifts! One of the gifts I thought would be cool is a hand-made speaker. I’ll be making this for my sister and this post will show how I made the speaker.
First, a little background about myself. I helped pilot the first in dorm maker space at the University of Connecticut in 2017. It is called the Learning Community Innovation Zone, or LCIZ, and is located in the brand new Werth Resisdence Tower. Through my job I get access to a bunch of cool equipment for free! – and so do UConn Students if you are reading this ;). This entire build will be done in the LCIZ and should be a relatively inexpensive project.
Inspiration
After a few quick google searches I came across the following speaker posted by imrehg on imgur. His design includes a Raspberry Pi and and LED dot matrix.


I think this is a very unique and cool design and I will definitely be using some design aspects of his speaker. The entire body of his speaker was cut on a Laser Cutter – a machine that we happen to have in the LCIZ!
Electronics Parts List
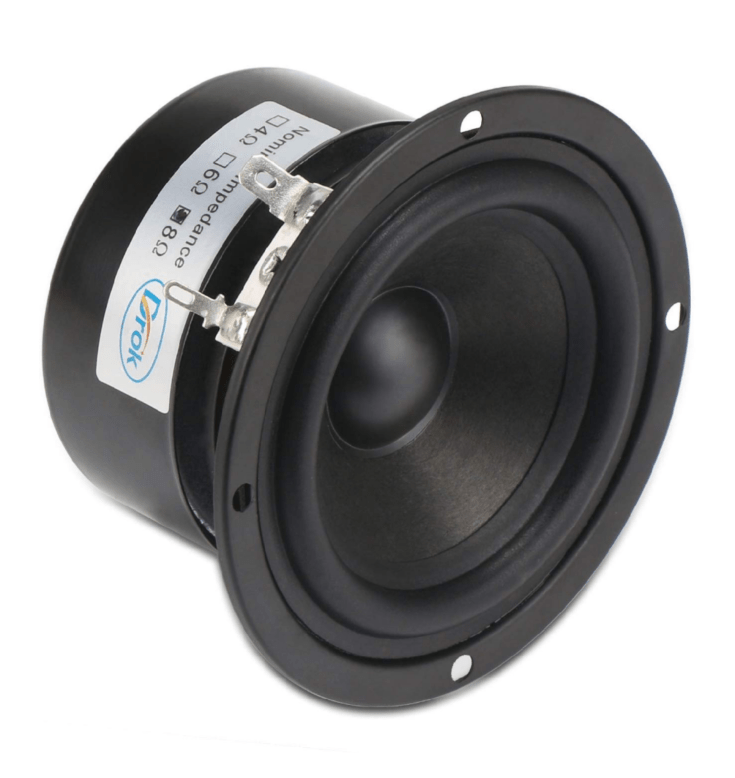
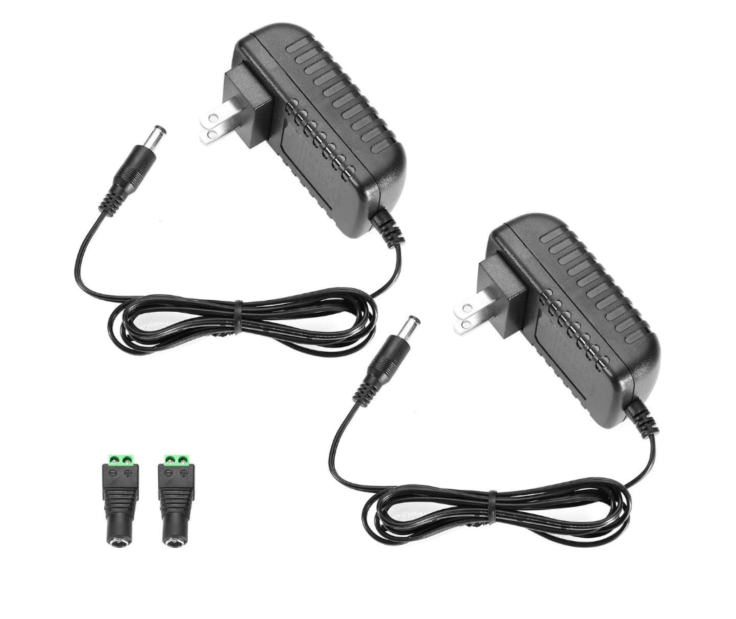
Since this project was time sensitive I opted for parts that I could get on Amazon via Amazon Prime 2-Day shipping. If you shop around on eBay or other sites you can likely find better prices. Here are the parts I got for this project:
DROK15W 3″ Tweeters
NOYITO OEP 30Wx2 Dual Channel Audio Digital Amplifier Board Class D DC 7.5-24V for 30-100W Speaker

Electronics
The next step was to wire and solder the amp, speaker and power supply. Here is the wiring pin out for the speaker amp, it’s pretty straightforward.
 The pins INR and CS can be left unconnected. The audio input came from a spliced 3.5 mm aux cable. The right and left channel outputs go to the right and left speakers, respectively. Take care in making sure the positive and negative of the outputs is correct or the speakers will be out of phase with each-other. A good sign the speakers are out of phase is if the music gets quieter between the two speakers instead of louder. This is caused by the speakers cancelling each other out.
Building the Speaker Box
The entire speaker box is made out of 3mm birch plywood. I have access to a 30W Epilog Laser engraver and this material cuts well on that machine. First I made the vector drawings in Correll draw.
For the side of the speaker the wood is cut in a parametric kerf. This gives the plywood enough flexibility to bend at a 90° angle at the corners.
Once all the pieces were cut I began to assemble the speaker box:
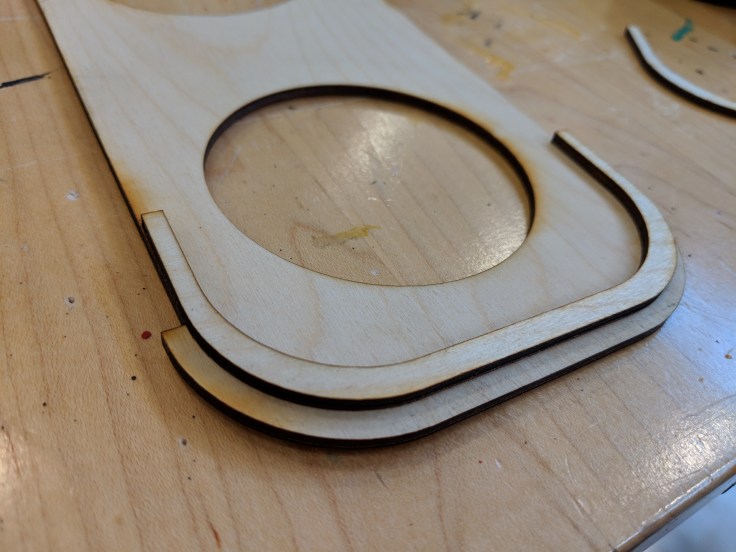
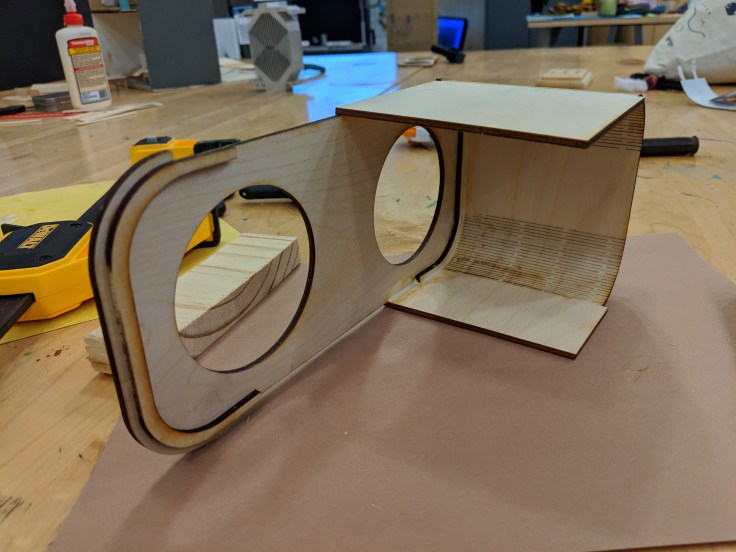
I would have preferred the sides of the speaker to be all one piece but I didn’t have a piece of plywood long enough.
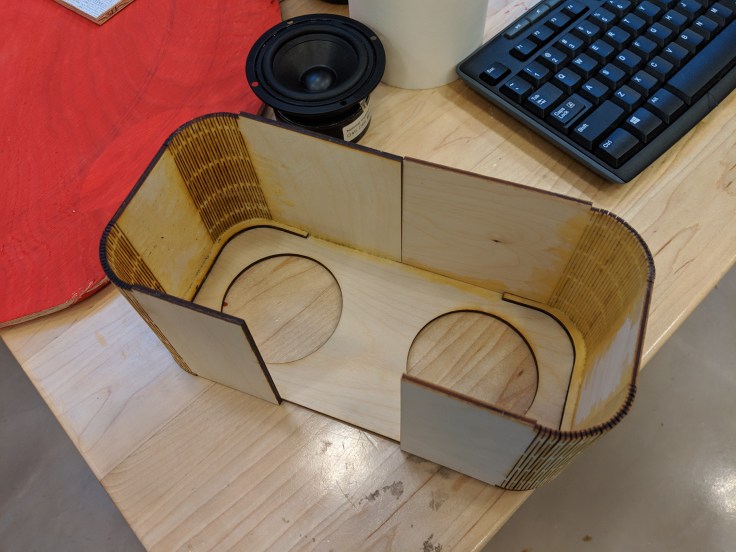
Final Assembly

The parametric curfs and the joints all needed to be sealed so using a liberal amount of silicon sealant I patched up any air gaps. An airtight speaker housing will improve your low frequency (bass) performance.

Once the silicon dried I mounted the speakers and circuitry inside the housing. I left the bottom open so I could install the DC power jack and 3.5 mm headphone jack.

Next I added a coat of walnut wood stain to finish. There are some spots where wood glue dripped that the stain didn’t absorb but it gave it a rustic look and I think it came out great.
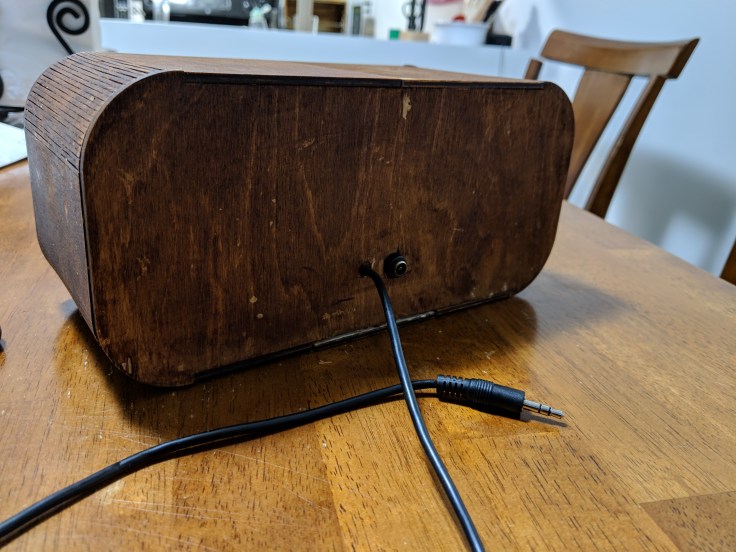
Lastly I added a DC power jack and sealed the bottom.

Leave a comment